Configure Job Templates
Job Templates
Job templates are configuration containers that provide the system with the information required to start issuing cards, such as:
- Layouts - Association between SJF Files and the Card Side on which they should be printed
- XY Auto-Positioning Settings - gives AIDA references to correctly position Entities before engraving
- OCR Settings - Used for data integrity checks
- Data Source Settings - Data Source Settings define where and how the system will retrive personalization data for engraving. Although the system is designed to support different kinds of data sources, the current version supports only relational databases.
Job Templates can be easily created and configued from the WebApp using its setup wizard.
Job Template Setup Wizard
Click the API tab to see how equivalent actions can be performed using REST API calls.
Use the table of contents on the right to navigate between steps
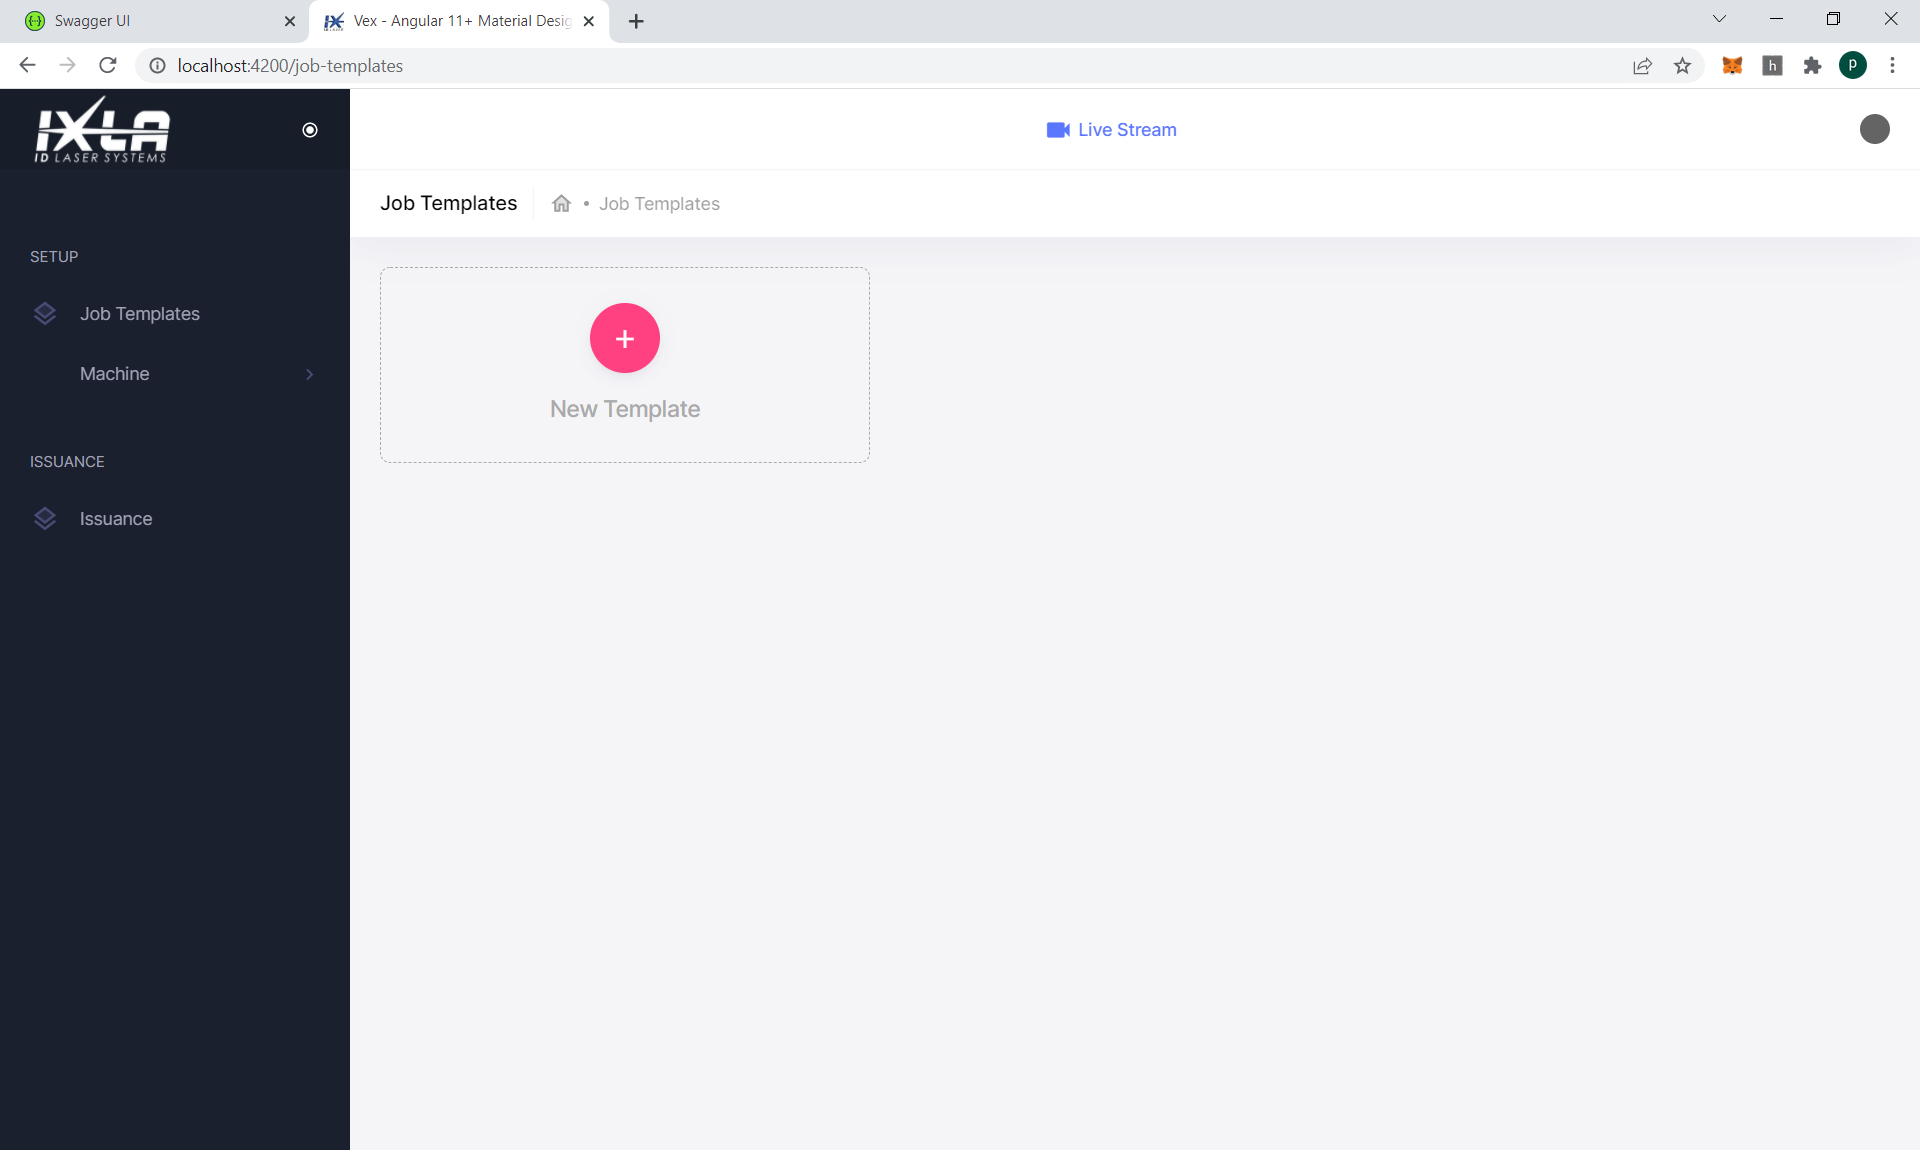
Opening the Template Wizard
Click + button to open the job tempalte setup wizard
- Web App
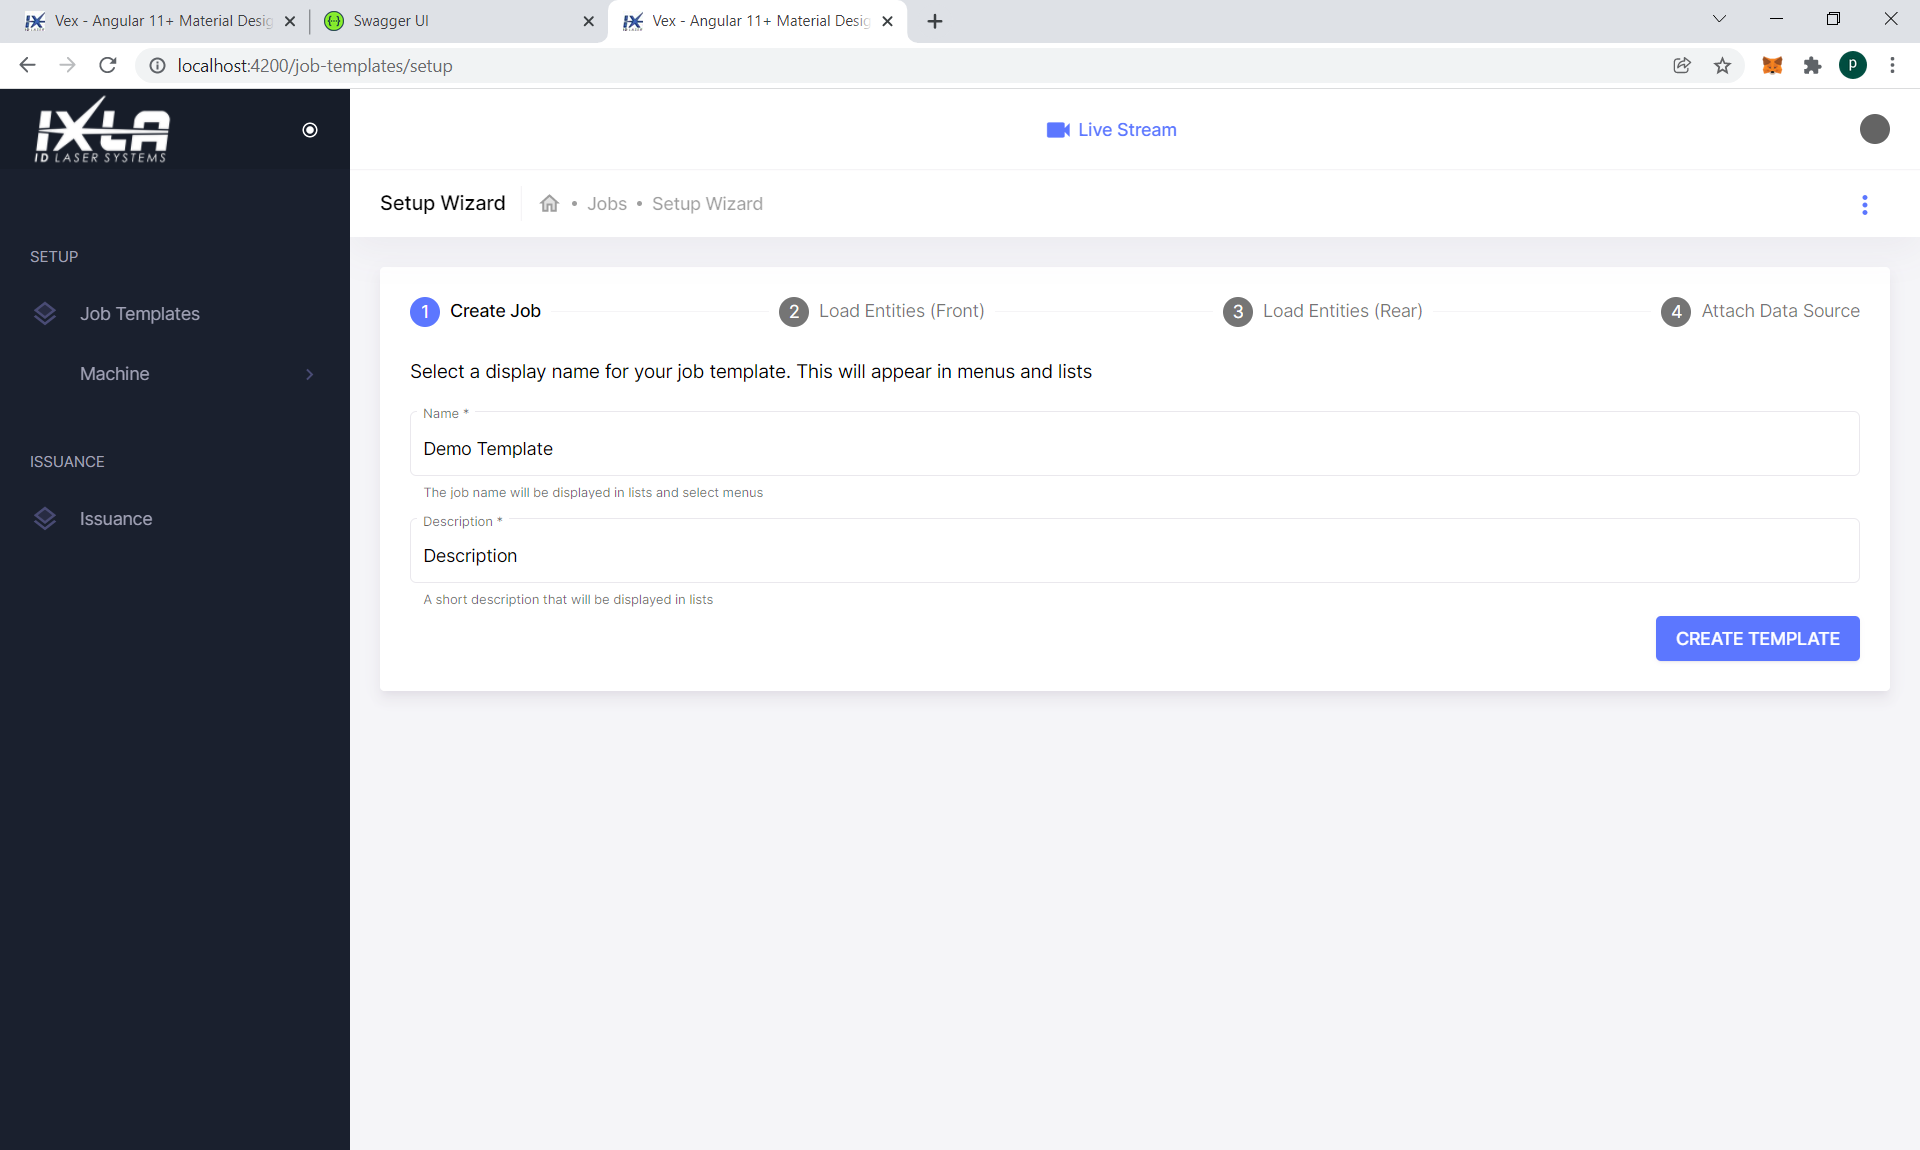
1. Create a new Job Template
- Web App
- API
Provide a name and a description for your template and click the CREATE TEMPLATE button
All the operations related to SJF files and, more generally, to SCAPS SAMLight can be performed through the Scanner API.
When we create a new tempate, the system perform the following operations:
- Create a new job template in samlight
- Generate a unique identifier
- Use the unique identifier as a filename for the new file
- Save the new job in its file store
- Angular
- C#
- HTTP
import { ScannerService } from '@ixla/aida-sdk-angular'

// ScannerService injected from DI
export class MyAppService {
  constructor(private readonly scanner: ScannerService) {
  }

  async createJobTemplate(name: string, description: string) {
      return await this.scanner.createJobTemplate({
          createJobTemplateDto: { name, description }
      });
  }
}
using IXLA.AIDA.Sdk;

public class MyAppService {

  private readonly ScannerApi _scanner;

  // ScannerService injected from DI
  public MyAppService(ScannerService scanner) {
    _scanner = scanner;
  }

  public async Task<JobTemplateDto> CreateJobTemplate(string name, string description) {
      var parameters = new CreateJobTempltateDto {
        Name = name,
        Description = description
      }
      return await _scanner.CreateJobTemplate(parameters);
  }
}
POST /AIDA/v1/scanner/job-templates
Host: $BOX_IP_ADDRESS:5000
Accept: application/json

{
  "name" : "My Template Name",
  "description" : "My Template Description"
}
{
  "id": 1,
  "name": "string",
  "description": "string",
  "created": "2019-12-10T10:06:50.466318Z",
  "updated": "2019-12-10T10:06:50.466318Z",
  "expectedMarkDuration": "25:01:01.001",
  ...
}
Store the job template id somewhere, we will need it later as a parameter for other API calls
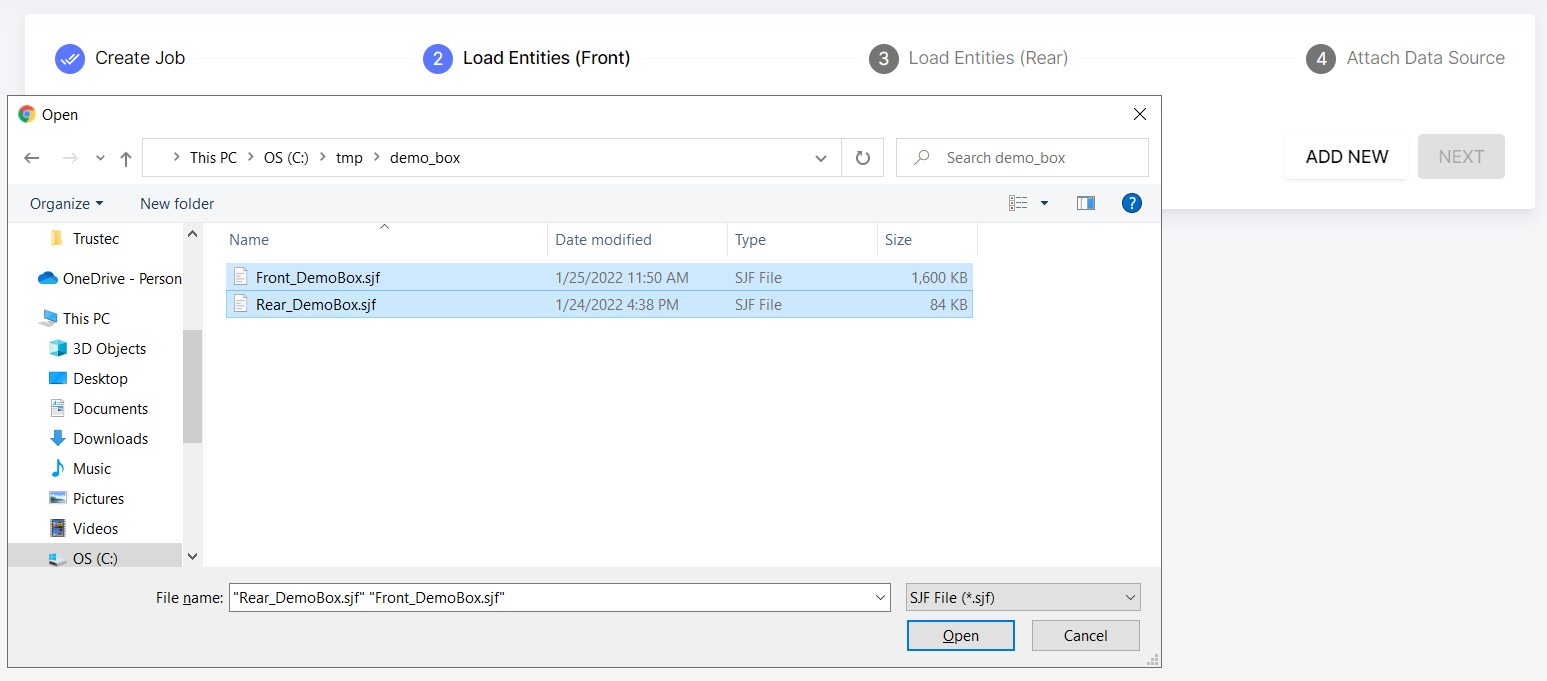
2. Upload SJF Files
- Web App
- API
Now we will need to import SJF Files into the system. Click ADD NEW to open the file dialog

Select the files you want to import and click Open
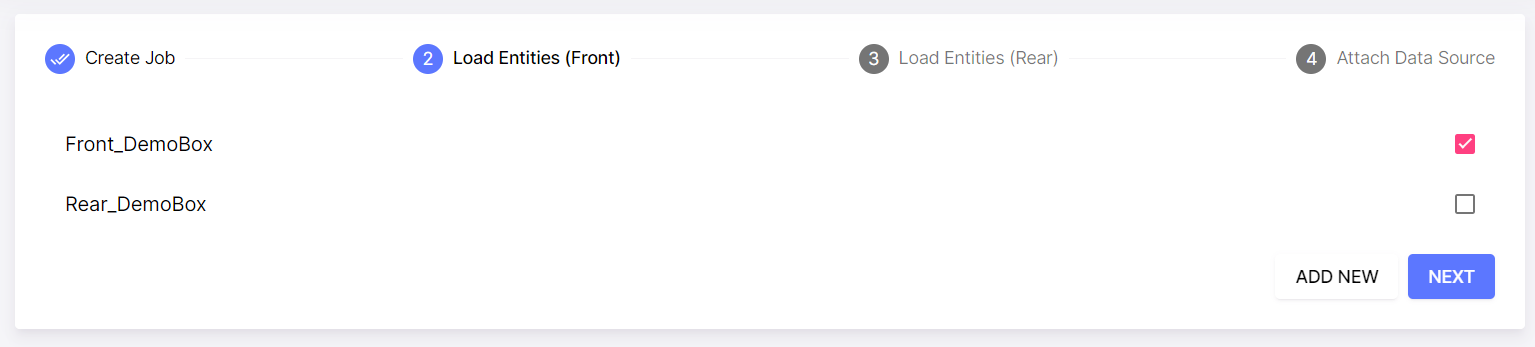
Click UPLOAD to start transferring the files you selected. AIDA stores the uploaded files and indexes entity metadata in its database.

SJF Files can be imported using the Scanner API
- Angular
- C#
- HTTP
The UploadLayoutFile endpoint accepts an UploadLayoutRequestFileParams object. To upload the files using the typescript-angular SDK you will need a browser that supports the File API
export interface UploadLayoutFileRequestParams {
    // The scannerId parameter is present in all ScannerService's endpoints, it
    // is used to route requests towards the right module in machines that
    // have more than 1 laser (eg. IXLA BOX). If it is not provided the system
    // will use the first available module
    scannerId?: string;
    layoutName?: string;  // Layouts are identified by name
    supportSide?: string; // support side can be ignored during import
    files?: Array<Blob>;  // files to be uploaded
}
import { ScannerService } from '@ixla/aida-sdk-angular';
...
constructor(private readonly scanner: ScannerService) {}
...

// retrieve the list of files to import from UI/External system APIs
const filesToImport: Array<UploadLayoutFileRequestParams> = [ ... ];

// remember, to extract entities metadata the system uses SCAPS SAMLight
// we cannot parallellize this operations on the same node.
// We could do it, using different scanners for each layout, but would complicate
// the code a lot for a very little gain in performance, since this is an operation
// that is done once, during system configuration
foreach(var requestParams in filesToImport) {
  await this.scanner.uploadLayoutFile(requestParams).toPromise();
}
using IXLA.AIDA.Sdk;
...
private readonly _scanner: ScannerService;
...

// file stream for an sfj file named front.sjf
using var frontStream = System.IO.File.OpenRead(@"front.sjf")
// file stream for an sfj file named rear.sjf
using var rearStream = System.IO.File.OpenRead(@"rear.sjf")


// import front.sjf
await _scanner.uploadLayoutFile(
  layoutName: "Front",
  supportSide: "front" // optional, can be ignored during upload
  files: new List<System.IO.File> { frontStream }
);

// import rear.sjf
await _scanner.uploadLayoutFile(
  layoutName: "Rear",
  supportSide: "rear" // optional, can be ignored during upload
  files: new List<System.IO.File> { rearStream }
);
...
POST /AIDA/v1/scanner/layouts
Host: $BOX_IP_ADDRESS:5000
Content-Type: multipart/form-data;boundary="boundary"

--boundary
Content-Disposition: form-data; name="files"; filename="Front_DemoBox.sjf"
Content-Type: binary/octet-stream
... sjf contents ...
for every uploaded file the system will perform the following actions automatically:
- Open SCAPS SAMLight
- Create a new empty Job
- Load the uploaded file with the
Overwrite Entitiesflag enabled - Rename entities adding a prefix to avoid duplicates
- Index entities and extract metadata
- Generate a unique identifier for the new job
- Save the job using the generated id as filename
At the end of the process it will return a LayoutDto object, which contains the extracted metadata
// LayoutDto
{
  "id": 0,
  "name": "string",
  "supportSide": "string",
  "created": "2019-12-10T10:06:50.466318Z",
  "updated": "2019-12-10T10:06:50.466318Z",
  // ApplicationFileDto
  "file": {
    "filename": "string",
    "originalFilename": "string",
    "displayName": "string",
    "size": 0,
    "location": "string",
    "checksum": "string",
    "extension": "string",
    "created": "2019-12-10T10:06:50.466318Z",
    "updated": "2019-12-10T10:06:50.466318Z"
  },
  // EntityDto
  "entities": [
    {
      "id": 0,
      "penId": 0,
      "markLoopCount": 0,
      "name": "string",
      "displayName": "string",
      "prefix": "string",
      "type": "Bitmap",
      "userData": 0,
      "layoutId": 0,
      "layoutName": "string",
      "rotationAngle": 0,
      "expectedMarkDuration": "25:01:01.001",
      // DRectangleDto
      "outline": {
        "x": 0,
        "y": 0,
        "width": 0,
        "height": 0,
        "dataType": "double"
      }
    }
    ...
  ],
  ...
}
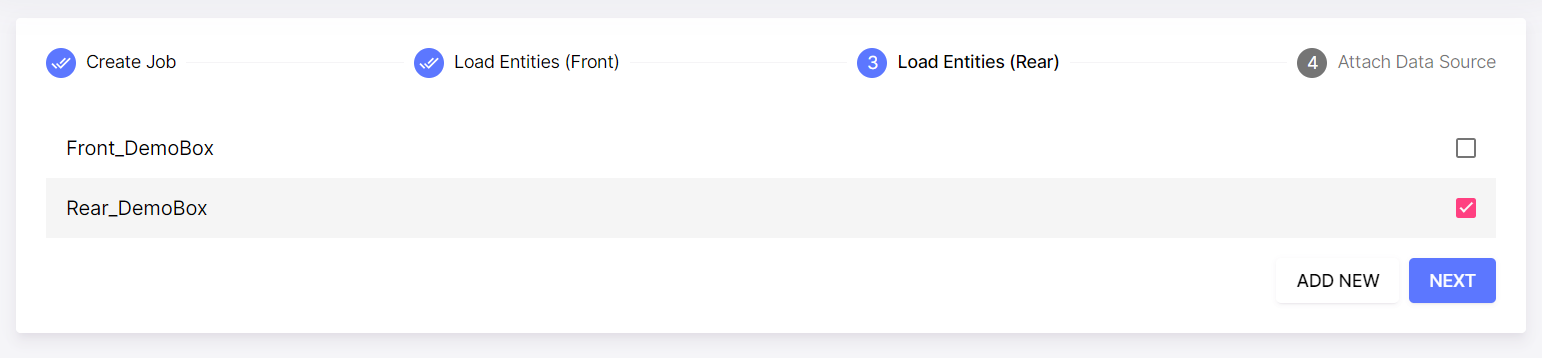
3. Create Layouts
Layouts are SJF Files assigned to a Job Template and a card side. AIDA uses this information during issuance to correctly position the card before marking.
- Web App
- API
The GUI shows a list of previously imported SJF Files. Select files that you want to print on the front side of the card and click NEXT
Do the same for the rear side.
In terms of API calls, Creating a Layout means:
- Loading a Job Template
- Importing entities from another SJF file, specifying where those entities should be printed (front, rear)
- Saving the Job file
An example of what the webapp does (in pseudo code) looks like this:
- Angular
- C#
- HTTP
  // load the job template in SCAPS SAMLight
  await this.scannerApi.loadJobTemplate({
    id: jobTemplateId, // jobTemplateId saved previously when we created the job template
    force:true
  }).toPromise();

  // selectedLayouts is the list of selected elements by the user in the UI
  // it is a collection of { layoutId: number, cardSide: string } objects
  for(const selection of selectedLayouts) {
    // loadLayout will import the entities from the layout's SJF file
    // into the currently loaded job template and assigne the specified card side.
    await this.scannerApi.loadLayout({
      id: selection.layoutId,
      cardSide: selection.cardSide
    }).toPromise();
  }

  // saveJobTemplate saves the template's SJF file, and updates the database
  await this.scannerApi.saveJobTemplate({}).toPromise();
// data type used to represent SJF files assigned to a card side
public record LayoutSelection(int LayoutId, string CardSide);

public async Task AssignLayouts(int jobTemplateId, IEnumerable<LayoutSelection> selectedLayouts)
{
   await _scannerApi.LoadJobTemplate(jobTemplateId);

   foreach(var selection in selectedLayouts)
      await _scannerApi.LoadLayout(selection.LayoutId, selectedLayouts.cardSide);

   await _scannerApi.SaveJobTemplate();
}
POST /AIDA/v1/scanner/load-job-template?id=1
Host: $BOX_IP_ADDRESS:5000
Accept: application/json
POST /AIDA/v1/scanner/load-layout?layoutName=DemoBox_Front&supportSide=front
Host: $BOX_IP_ADDRESS:5000
Accept: application/json

...

POST /AIDA/v1/scanner/load-layout?layoutName=DemoBox_Rear&supportSide=rear
Host: $BOX_IP_ADDRESS:5000
Accept: application/json
POST /AIDA/v1/scanner/save
Host: $BOX_IP_ADDRESS:5000
Accept: application/json
4. Attach a Data Source
The last thing to do is to generate the database tables that we will use to provide personalization data and schedule jobs.
- Web App
- API
Go ahead and click CREATE DATASOURCE to complete the configuration. Flagging the Generate mock dataset checkbox will populate the generated tables with mock data. This might be useful for testing purposes.

We can generate Data Exchange Tables using the ETL Service API.
The the GenerateDataSource will generate a Data Exchange Table and configure a Data Source object for the specified job template. Data Source objects are used during issuance to retrive information such as:
- Connection string
- Table Name
- Query Template
The generated data source will look like this:
- Table Name: The name of the Data Exchange Table generated by the system
- Connection String: Connection string for connecting to AIDA's RDBMS
- Query Template: SQL that selects all non blob fields (images are fetched as needed during issuance)
- Angular
- C#
- HTTP
import {EtlService} from '@ixla/aida-sdk-angular'
...
// EtlService injected from DI
constructor(private readonly etlService: EtlService) {
}
...
await this.etlService.generateDataSource({
  // job templateId previously stored or retrieved from APIs
  jobTemplateId: jobTemplateId
}).toPromise()
...
  using IXLA.AIDA.Sdk;
  ...
  private readonly EtlService _etl;
  ...
  await _etl.GenerateDataSource(jobTemplateId);
POST /AIDA/v1/etl/JOB_TEMPLATE_ID/generate-datasource
Host: $BOX_IP_ADDRESS:5000
Accept: application/json
We're done!
We have created and configured our first job template. Keep reading to see how we can populate Data Exchange Tables with personalization data and finally start issuing cards.